What I Learned from 5 Boudoir Test Shoots
How I Push My Boudoir Photography
Exploring light, gear, and creative freedom with a generous, patient human.
Sometimes the best way to grow as a photographer isn’t to take on more client work, it’s to experiment without pressure. Over the course of a few months, I ran five boudoir themed test shoots. Each one had a specific technical or creative focus that I wanted to understand better, from light shaping to exposure accuracy.
These sessions were only possible thanks to the generous, creative, and patient April, who stepped in front of the camera and quietly let my brain figure issues out. What follows is a breakdown of each test, what I discovered, and how this kind of creative work makes me a better photographer for my clients.
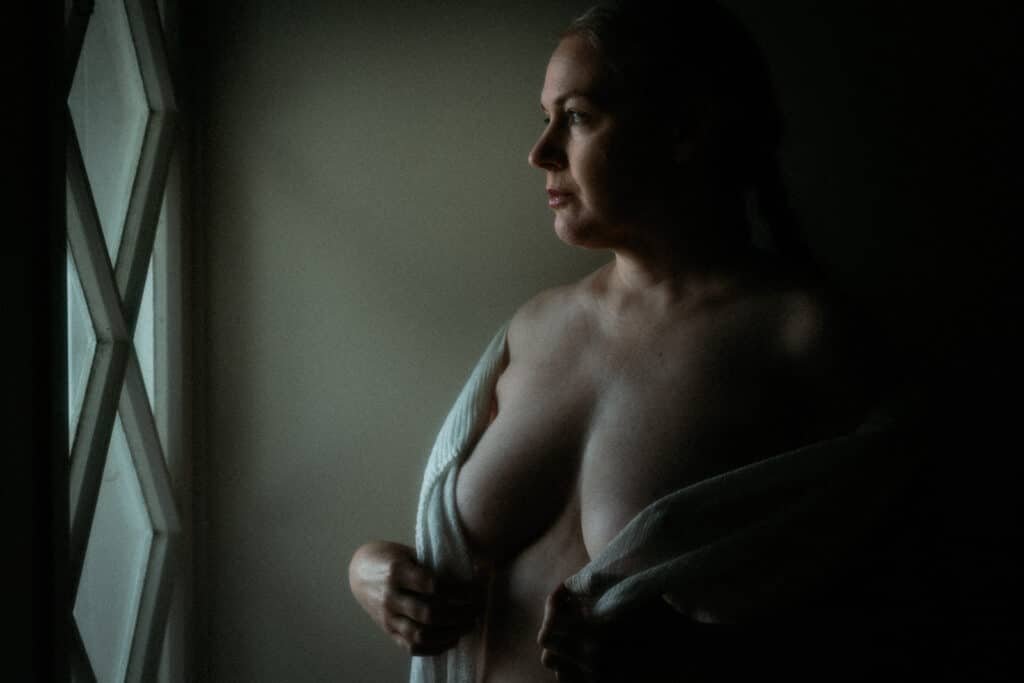
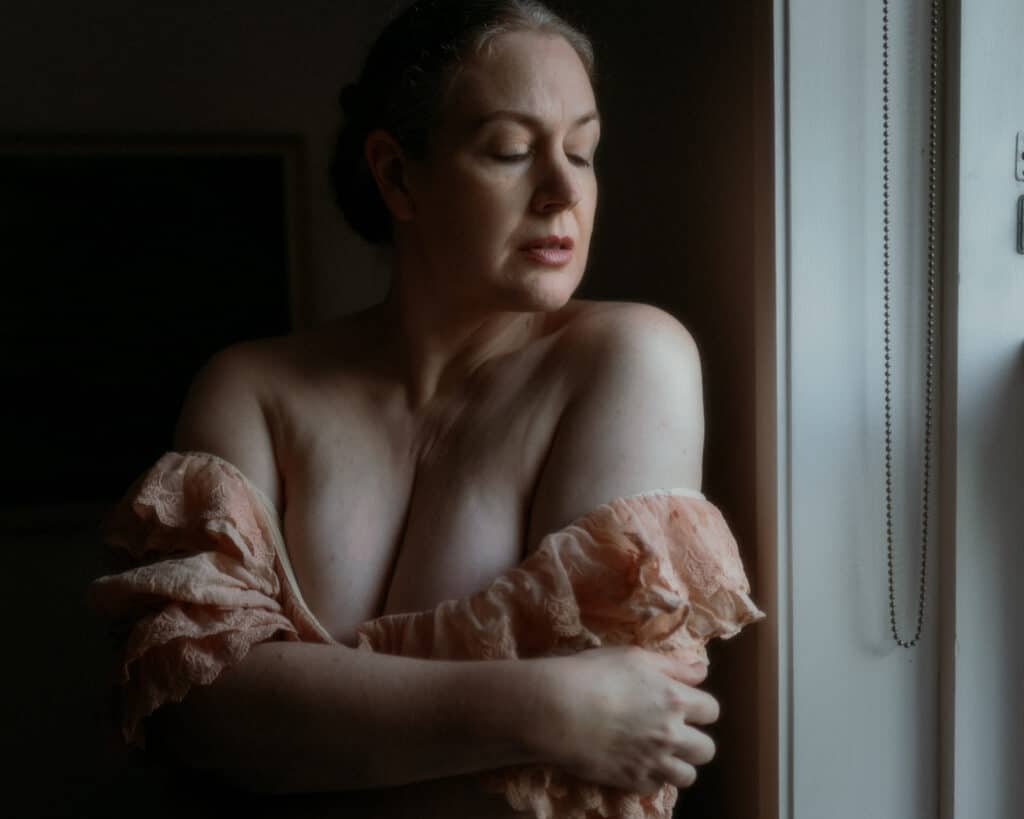
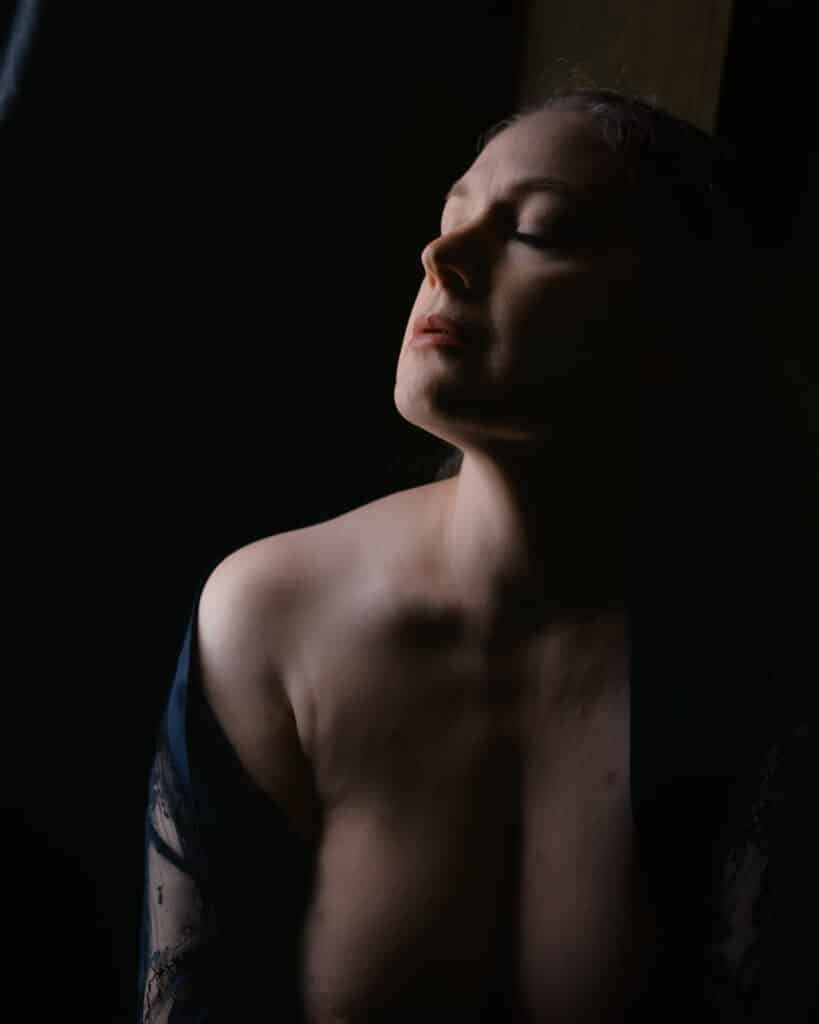
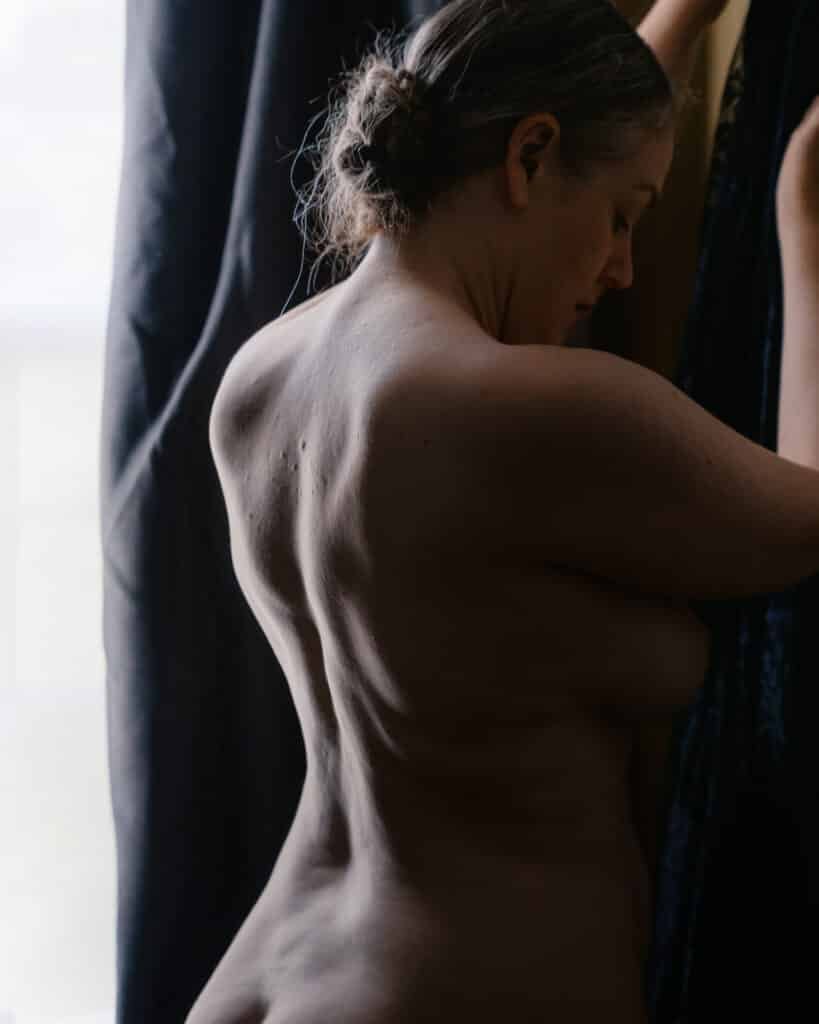
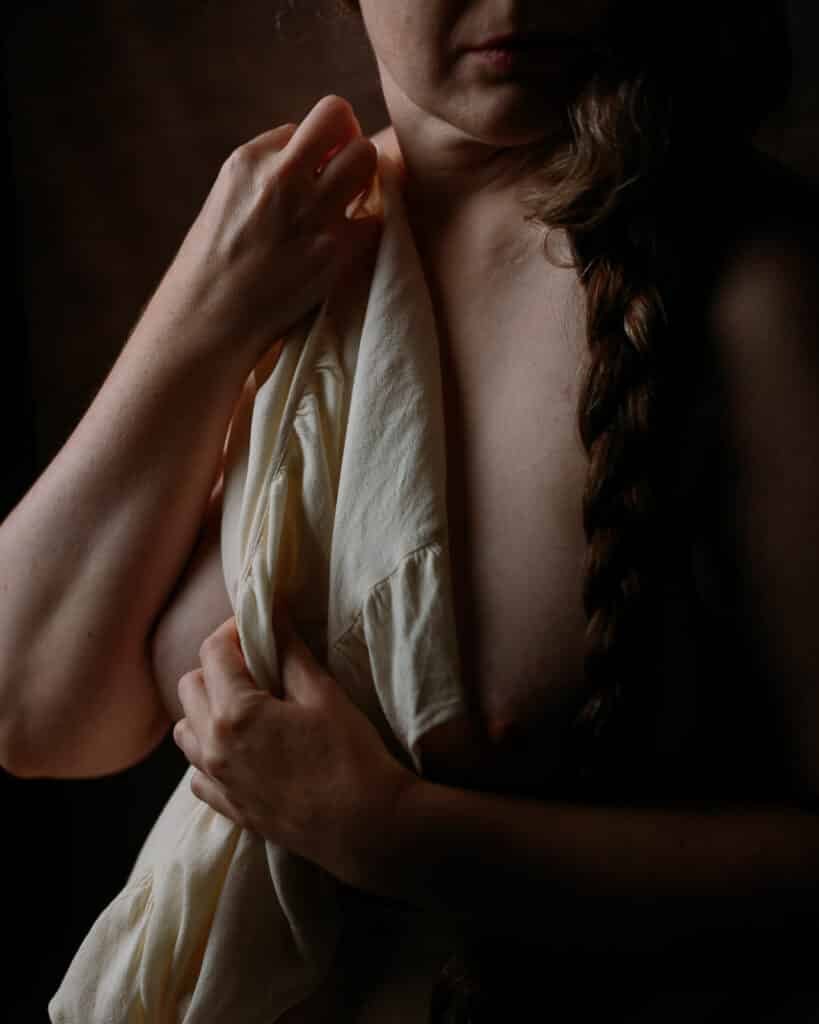
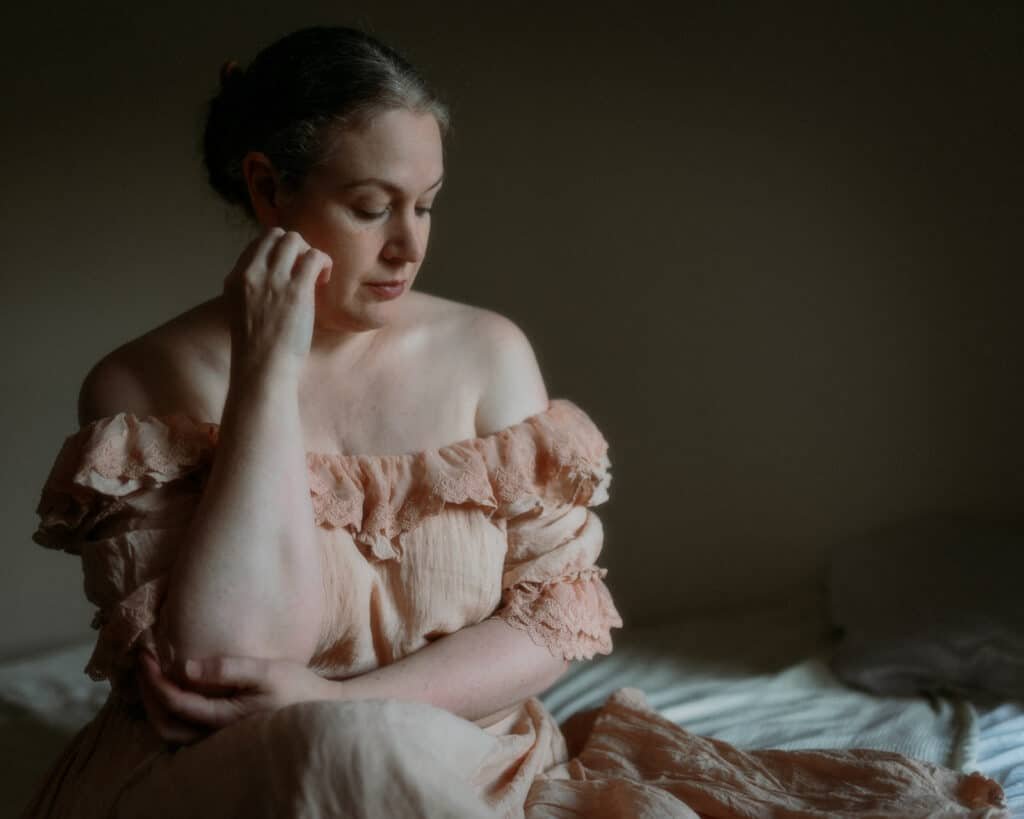
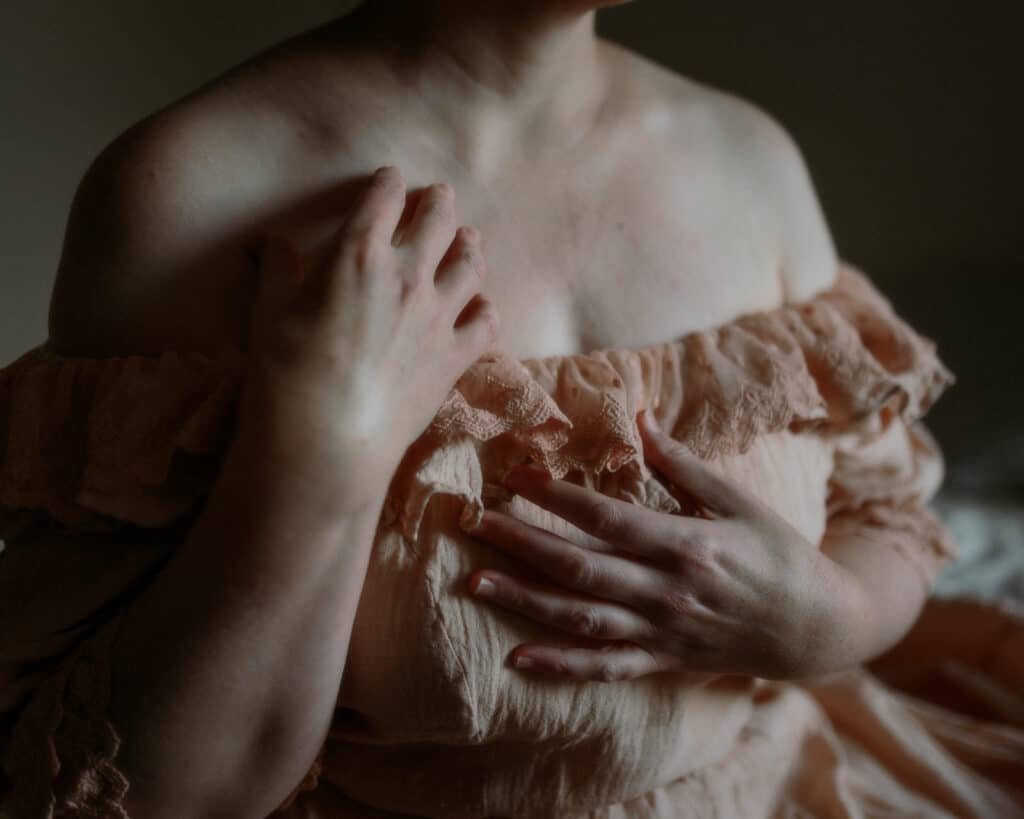
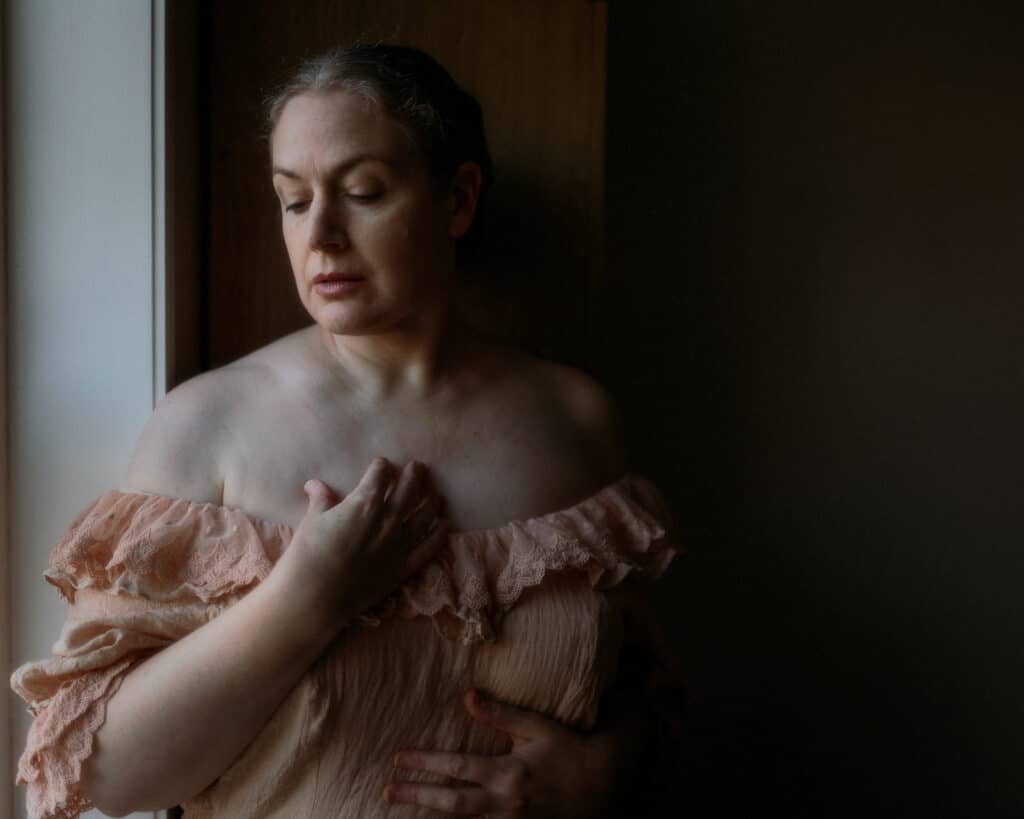
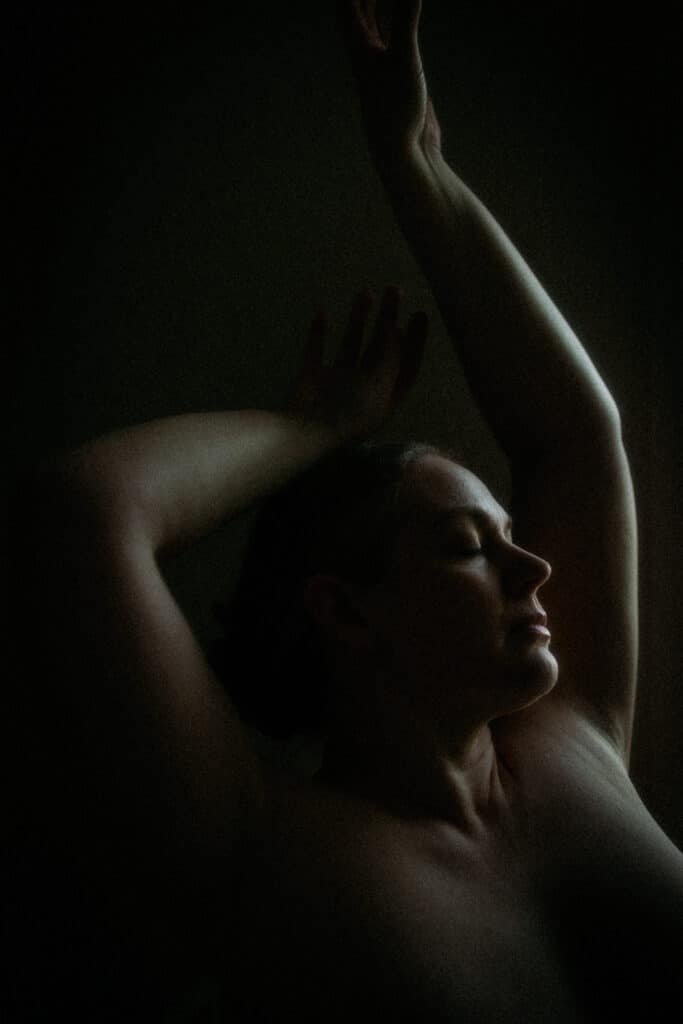
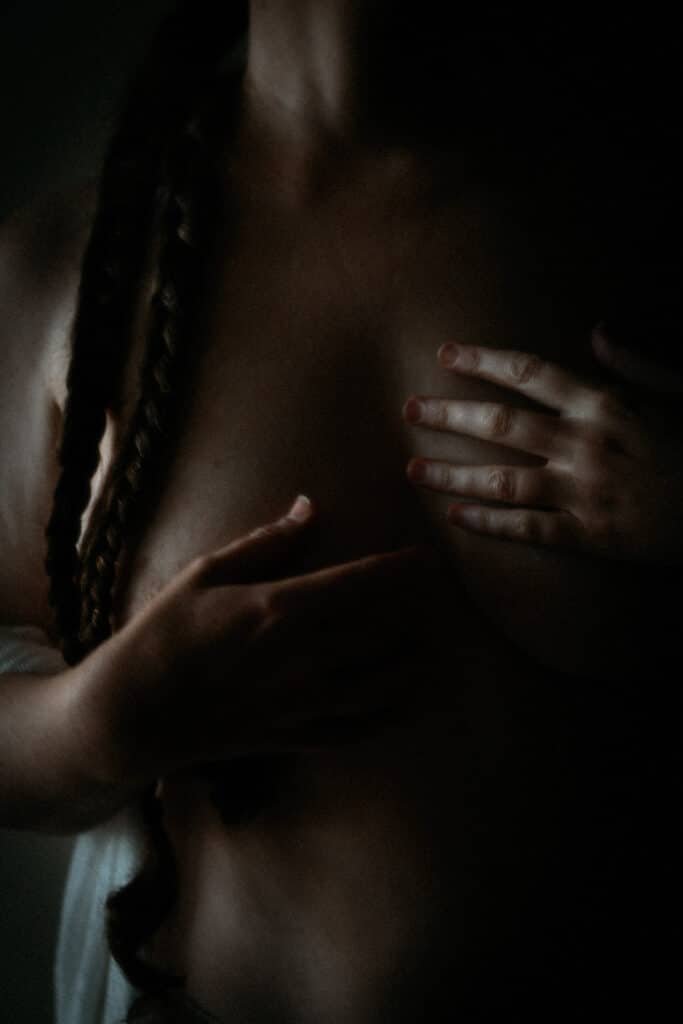
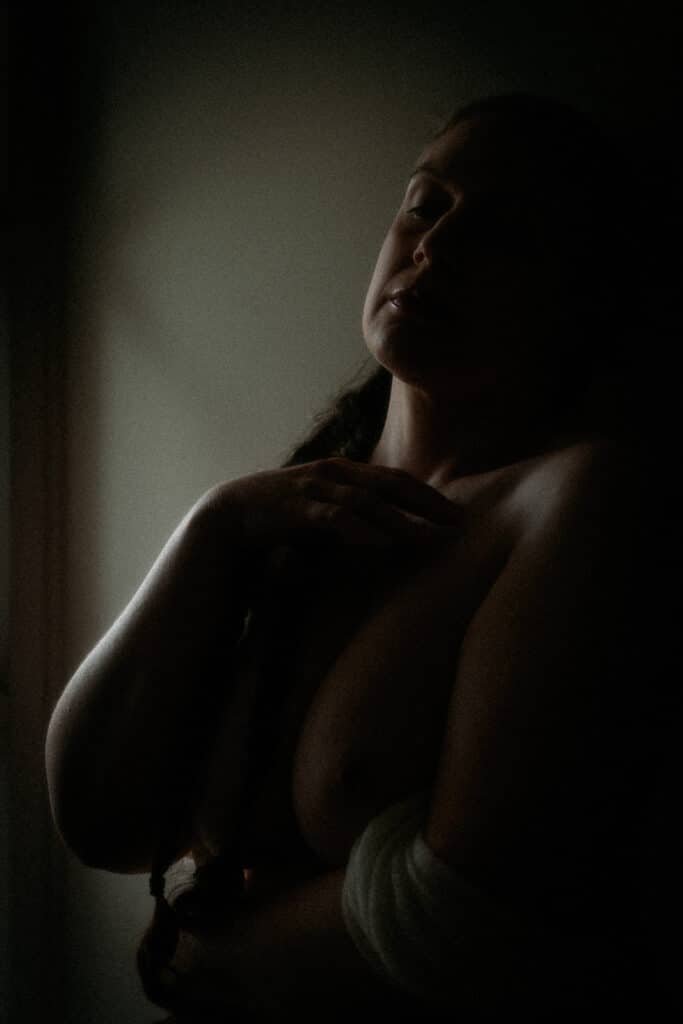
1. Window Light & Shadow Depth
How much variety can one window really give me?
I wanted to see how much variety I could get from using a single window as the only light source. I brought netting and a pair of dark curtains which I clipped to the top. The goal was to test how far I could push short lighting techniques, framing angles, and posing, while keeping the light falling on April minimal, for mood.
- I used short lighting (shooting on the shadow side) to sculpt the face and body with shadow.
- Framing became a creative tool, with various angles and focal lengths.
- The biggest challenge was directing poses within a narrow light cone.
What I Learned:
- A single window can give you an incredible range with careful planning and control.
- Limitations created focus, and each small shift changed the look dramatically.
- For moody vibes, shooting on the shadow side with light crossing the body was best for showing contours and expression.
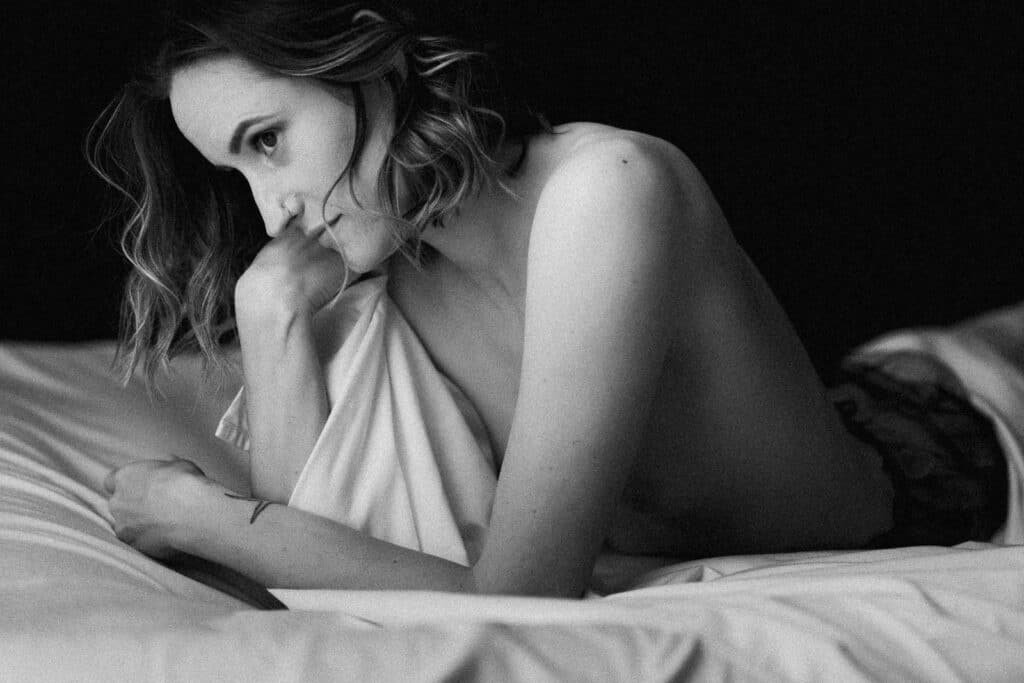
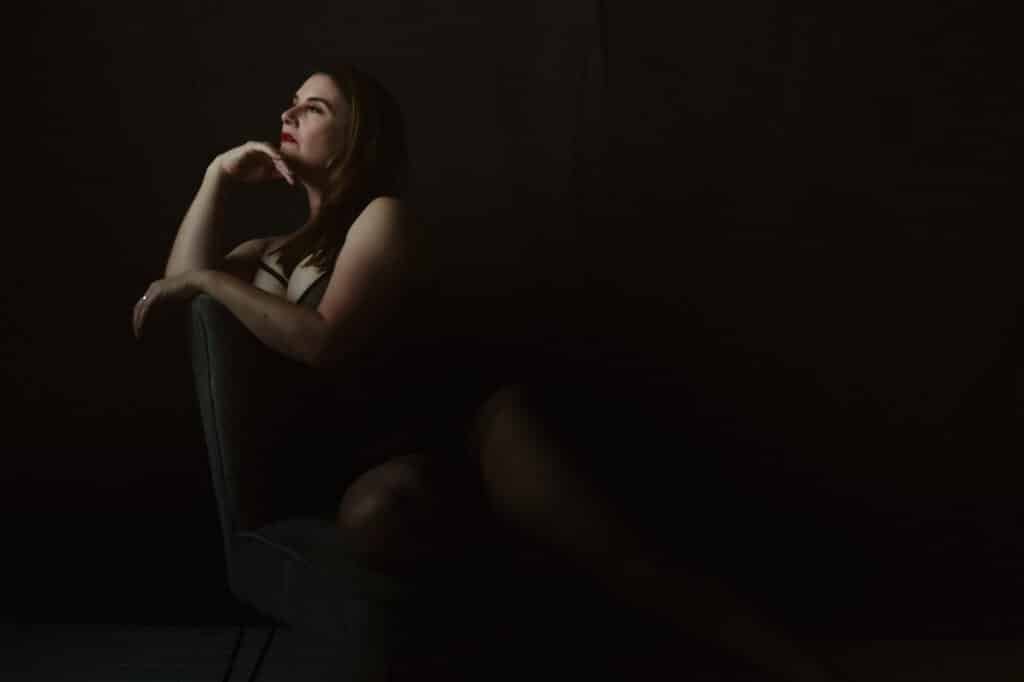
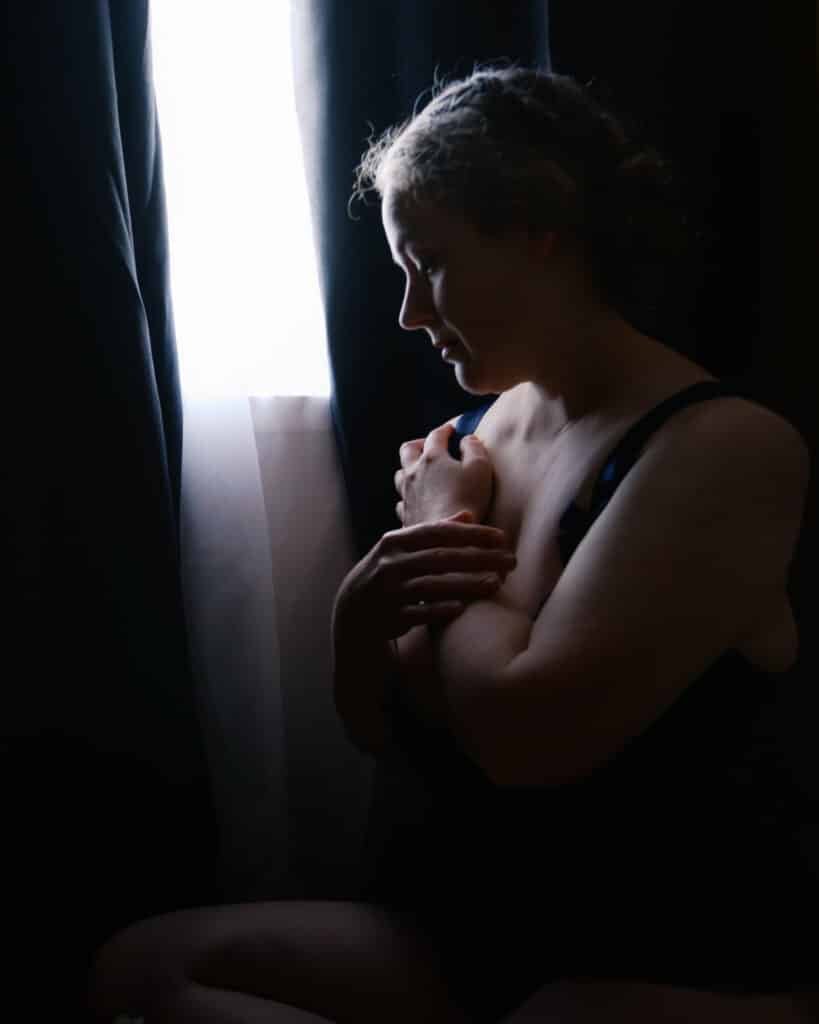
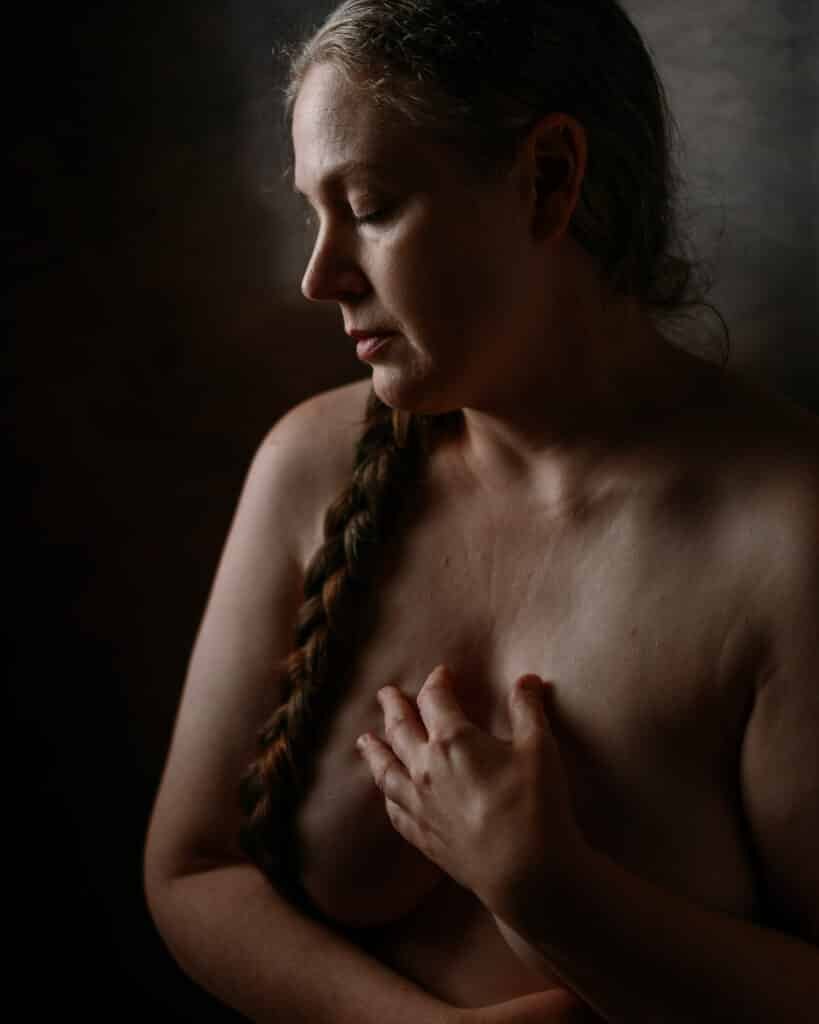
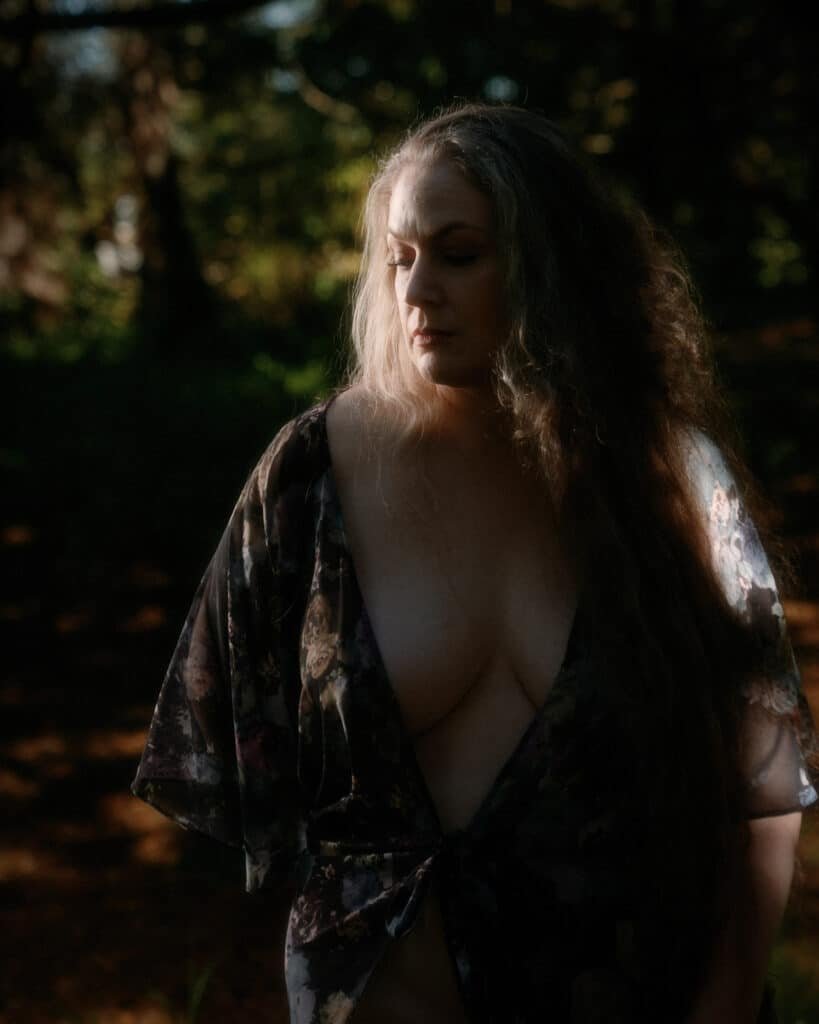
2. Comparing Natural Light, Flash, and Continuous Video Light
Three different lighting approaches, which is best?
For this shoot, I compared how natural light, flash, and continuous LED video lighting each performed in the same environment with the same subject. I compared ease of use, subject comfort, and how each light affected skin tone and overall mood.
- Natural light felt soft and organic, but the power level and direction are out of my control.
- Flash was bright, and controllable, but less intuitive for the person I was photographing and myself.
- Continuous video light offered a middle ground, easier to work with and great for small adjustments, though not as strong.
What I Learned:
- Each light source has pros and cons, but could all work. However, there were tradeoffs that made each suit different types of shoots.
- Natural light was beautiful, but hard to control or modify. What you see is what you get. It had less gear fussiness.
- Flash had the power to create sharp images, but you couldn’t see the shot until after it was taken, and reviewing stifled the flow.
- Continuous light only had one downside, the power… but it was enough. It was fully controllable with modifiers and was consistent.
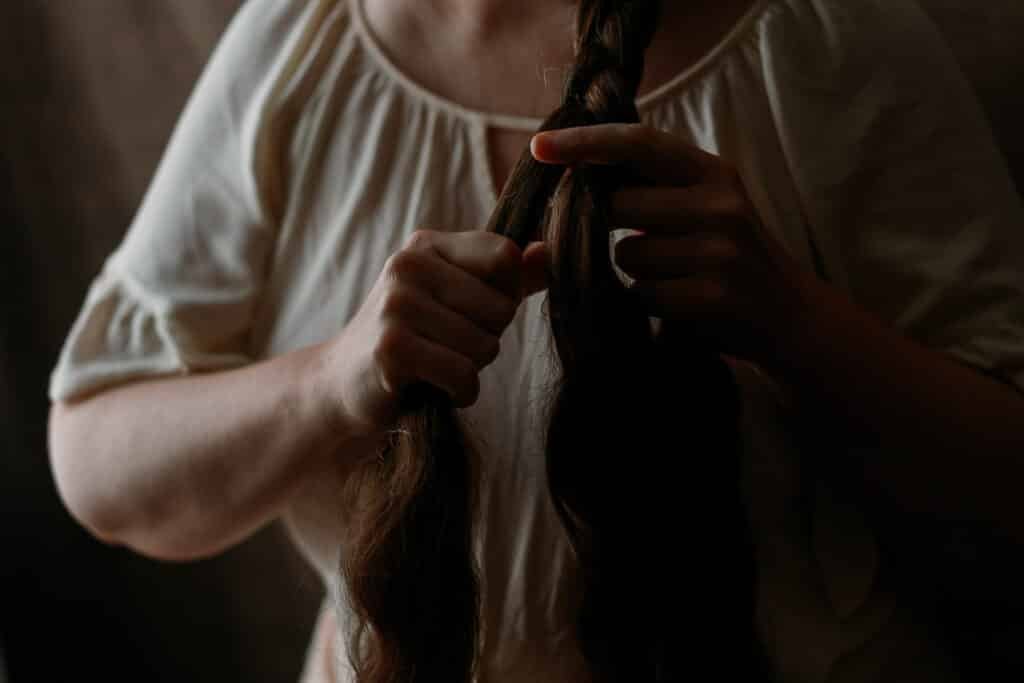
3. Behind-the-Scenes with a 360 Camera
Capturing the full session experience without a second shooter.
Clients often ask what a session is like, and I wanted a way to show them, visually and honestly. So I mounted a 360 camera on my main rig to document everything happening during the test shoot. After a lot of research and testing, I bought a 360 camera that mounts on the top of my shooting camera and records video and sound.
- The goal was to film the entire session unobtrusively. I didn’t want to have to think about or touch video gear.
- Setup and stabilisation were key, and it gives the ability to rotate the camera its mounted on, or face the wrong way… and then reframe later.
- Consent and comfort were essential, especially in a boudoir setting, so I needed to tell April about what we were doing and show her what was going public.
What I Learned:
- This setup works, but it requires planning, trust, and lots of post-production.
- The potential for behind-the-scenes content is huge, for marketing, for education, and for transparency for people interested in booking a shoot.
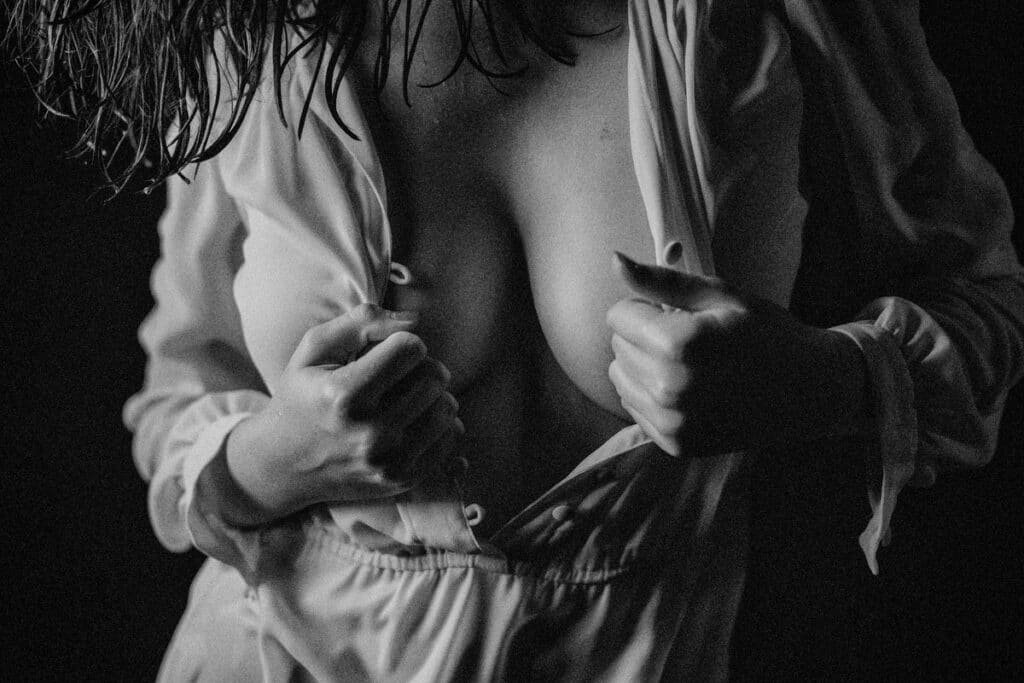
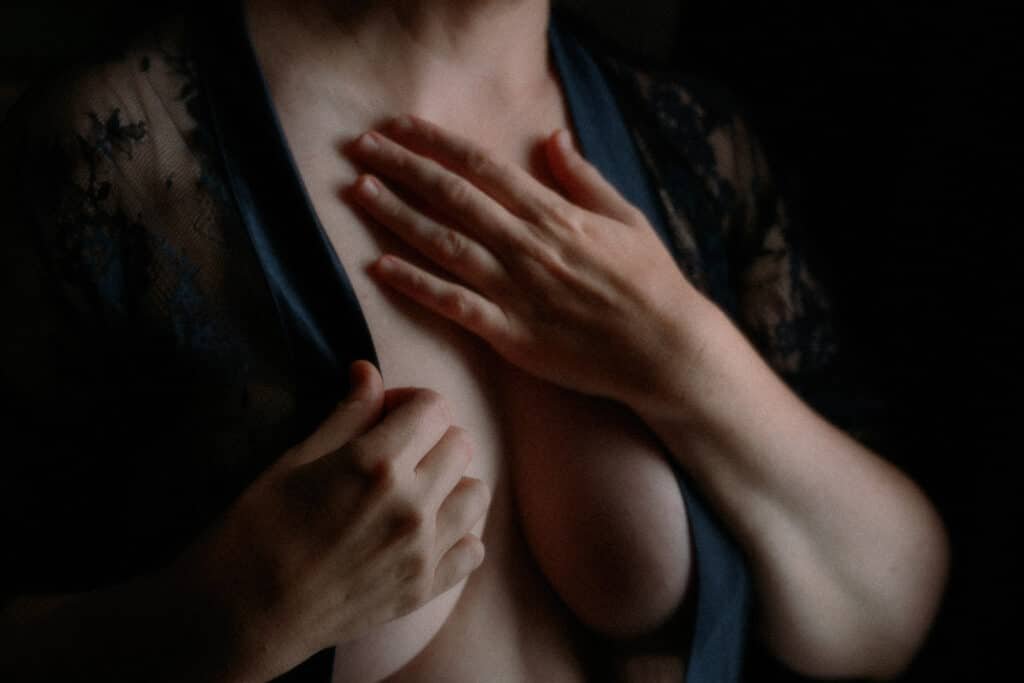
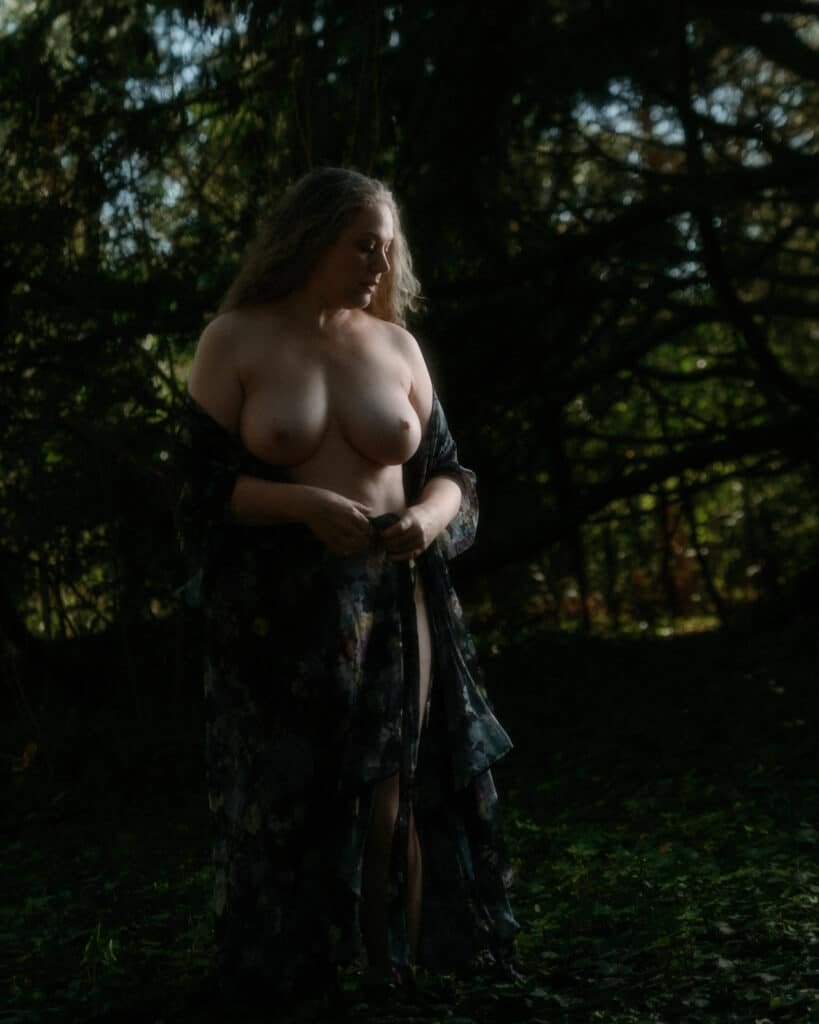
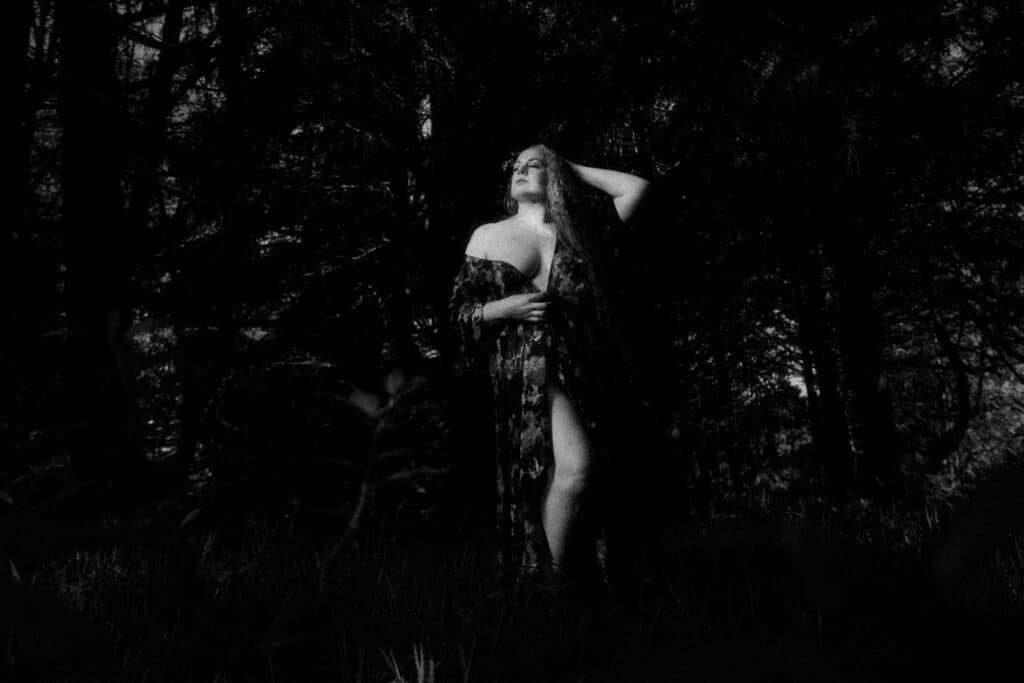
4. Creating Moody Outdoor Boudoir with Flash
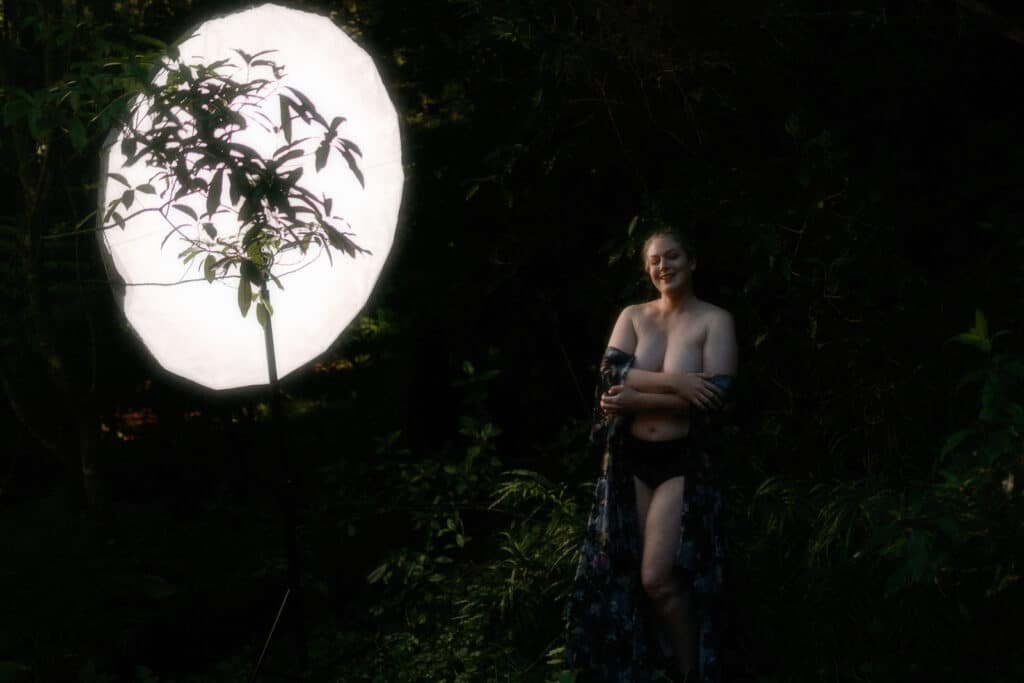
Shooting dark and dramatic portraits in full daylight.
For this test, I wanted to see if I could create moody, controlled boudoir images using flash during the middle of the day, outdoors. This would allow me to offer more photoshoot time options. The shoot took place in a bush setting, and I used a large 150cm octa modifier with a 600W flash to shape the main light.
- I used short lighting on the body to maintain depth.
- Balancing ambient light with flash power was a major challenge, but after a few test shots, we could then get underway with a session.
- The big modifier helped get softer light fall-off on April, and isolated the subject beautifully by making the background under exposed.

What I Learned:
- You can shape dramatic moody light in harsh natural light, but timing, location, and prep are everything.
- Flash gives full control, but only if you know how to work with the environment around it.
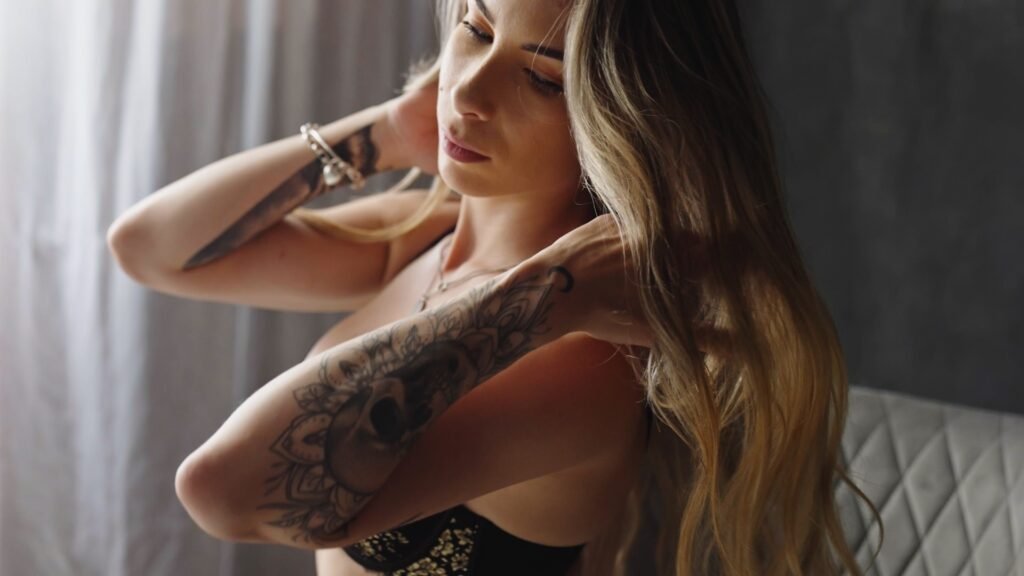
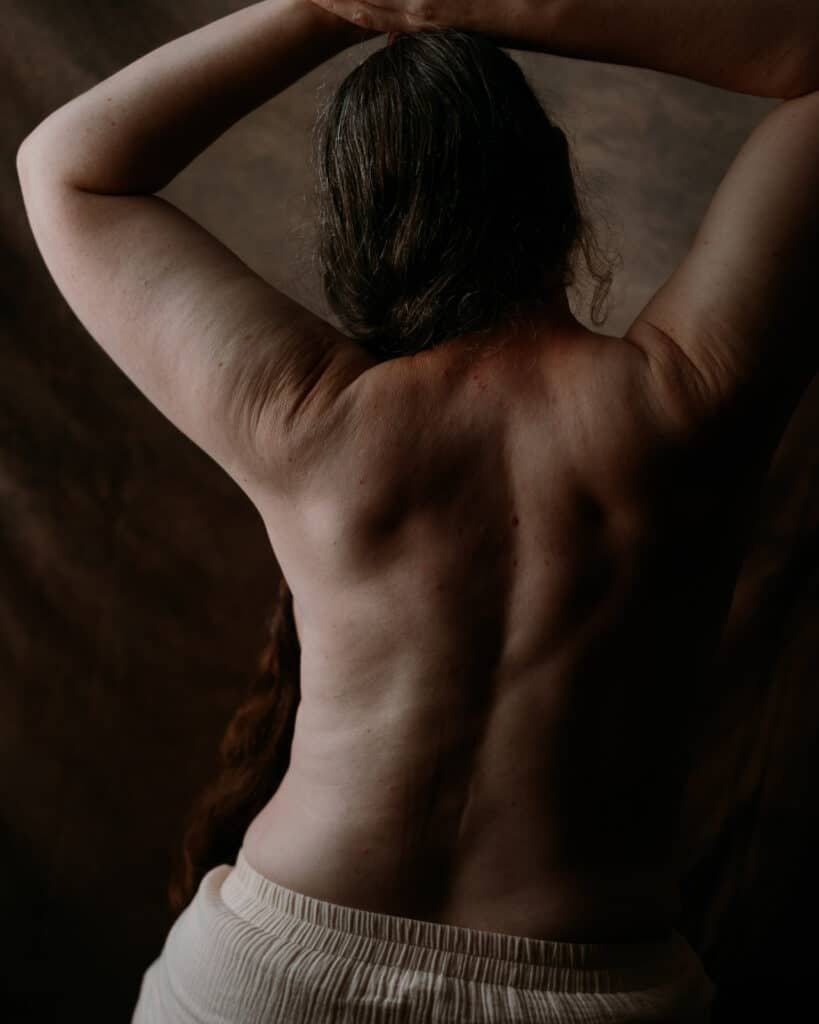
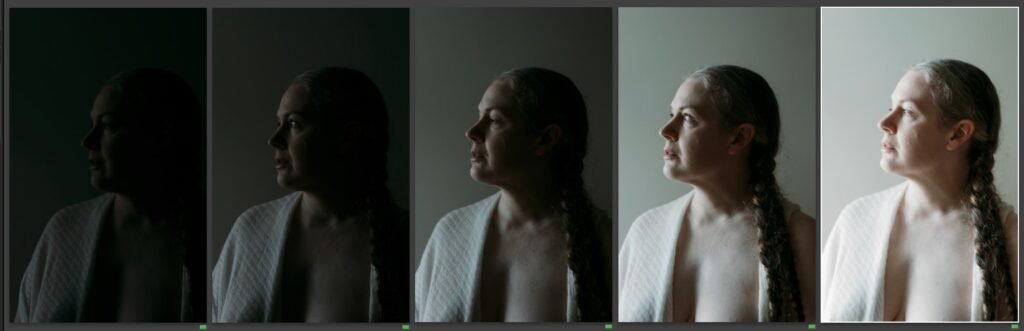
5. Getting Exposure Right In-Camera
Fixing the gap between what I saw in the camera viewfinder and what I got in RAW.
I noticed a recurring issue: most of my photo files seemed bright when viewed in-camera, but needed 1–2 stops of exposure lift in editing. That led me to dig into exposure profiles, zebra warnings, and how to trust what my camera was telling me.
- I ran exposure ramps and tested zebras tuned for RAW (109%), not JPG.
- I then shot a mini boudoir session using those test settings to confirm accuracy.
What I Learned:
- What I suspected was true, the camera playback wasn’t aligned with the editing software playback and was causing me to underexpose images.
- Expose for the file, not just the screen, which means shooting brighter.
- Profiles and zebras are critical if you shoot moody work. You have to pick a setup and then understand the whole exposure flow.
- Adjusting my workflow has already saved editing time and gives me better quality files to work with, I have more editing latitude.
Final Thoughts
These test shoots reminded me why creative play matters. They weren’t about perfection, they were about exploration to find better methods and results. It was about refining my tools so I can serve my clients better!
When I walk into a real shoot, I now carry all of this with me. The confidence of having tested lighting under pressure, the ability to adjust quickly because I understand the principles, and the confidence in my tools and eye for light to be able to focus on the person.
If you’ve ever considered doing a test shoot with a photographer, I highly recommend it. Want to book a shoot or collaborate on something experimental? Message me below!